


By using our website, you agree to the use of cookies as described in our Cookie Policy
Blog
Wall Niches: When to Build One In (and When to Leave the Wall Alone)

Trends & Design Inspiration · Bathroom Remodeling
Wall Niches: When to Build One In (and When to Leave the Wall Alone)
The recessed shelf is one of the cleverest tricks in home design — but only when it's in the right wall.
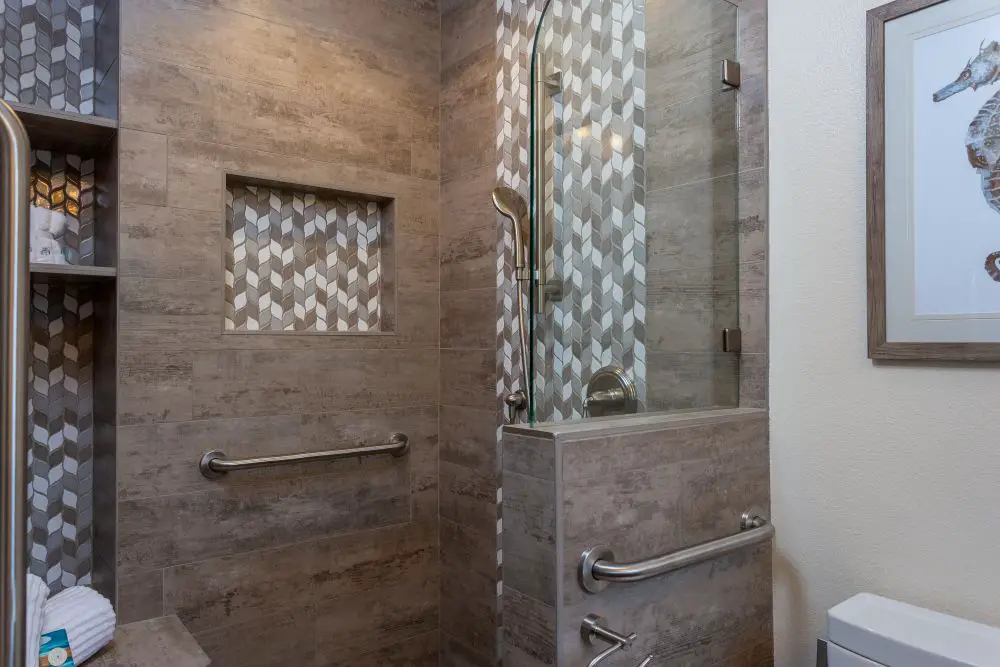
This image highlights a modern bathroom with a glass-enclosed shower featuring a geometric tile accent wall and a built-in storage niche. The design combines style and practicality, offering both visual appeal and functional storage.
We were mid-demo on a bathroom in Rossmoor a couple years back — one of those 1970s homes with the original pink tile still going strong — when our client pointed at the wall above the toilet and said, "Can we put a little shelf in there? But, like, in the wall?" She didn't know the word for it. She just knew she wanted it. That was a niche.
Wall niches are one of those features that homeowners love once they have them and can't quite picture ahead of time. They're recessed into the wall itself — flush with the surface, not sticking out into the room — and they solve a real problem: where do you put things when you're out of surfaces?
But they're not a slam-dunk in every wall. Built in the wrong spot, a niche costs more to fix than it would have cost to skip it entirely. Here's how we think about them after 40-plus years of building them.
First: What Exactly Is a Wall Niche?
A niche (pronounced "neesh" or "nitch," depending on which side of that argument you're on) is a recessed opening built directly into a wall — typically between the vertical wood framing members called studs. Think of it as a built-in pocket carved out of the wall cavity.
Trade term, explained
Studs are the vertical wood members inside your wall — usually 2×4s spaced 16 inches apart. The space between them is the wall cavity. A niche lives in that cavity. In a standard 2×4 wall, that gives you about 3.5 inches of depth — enough for toiletries, spices, or decorative objects.
Unlike a floating shelf, a niche doesn't project into the room at all. It disappears into the wall. That's the whole appeal — it feels intentional, architectural, built-in. Which, when done right, it absolutely is.
We see them most often in:
- Shower walls — for shampoo, conditioner, razors, the seventeen products your family insists they each individually need
- Above toilets — a tidy display ledge or magazine holder
- Hallways — keys, mail, a spot for your phone to charge without the cable snaking across the counter
- Kitchen backsplash walls — a spice alcove or coffee station nook
When a Niche Makes a Lot of Sense
There are a handful of situations where we'll almost always say yes to a niche — and where the investment in planning and labor pays off beautifully.
The shower is the classic case
If there's one place in a home where a niche earns its keep every single day, it's the shower. A properly waterproofed shower niche keeps bottles off the floor, off a wire caddy that rusts in six months, and off a corner shelf that tips over at 6 a.m. It's the difference between a shower that functions and one that genuinely works.
The key word there is "properly waterproofed" — more on that in a minute.
You're already opening the wall
If a remodel is already tearing into a specific wall — say, we're relocating plumbing, or we're taking the tile all the way down to the studs — adding a niche at that point is relatively low additional cost. You're already in there. It's the right time to ask the question.
You have limited square footage
A lot of the homes we work on in Rossmoor and the East Bay were built in an era when bathrooms were compact by design. They weren't designed around the storage needs of a 2020s household. A niche in the shower wall or the space above the toilet doesn't take up any floor space. For a small bathroom, that matters.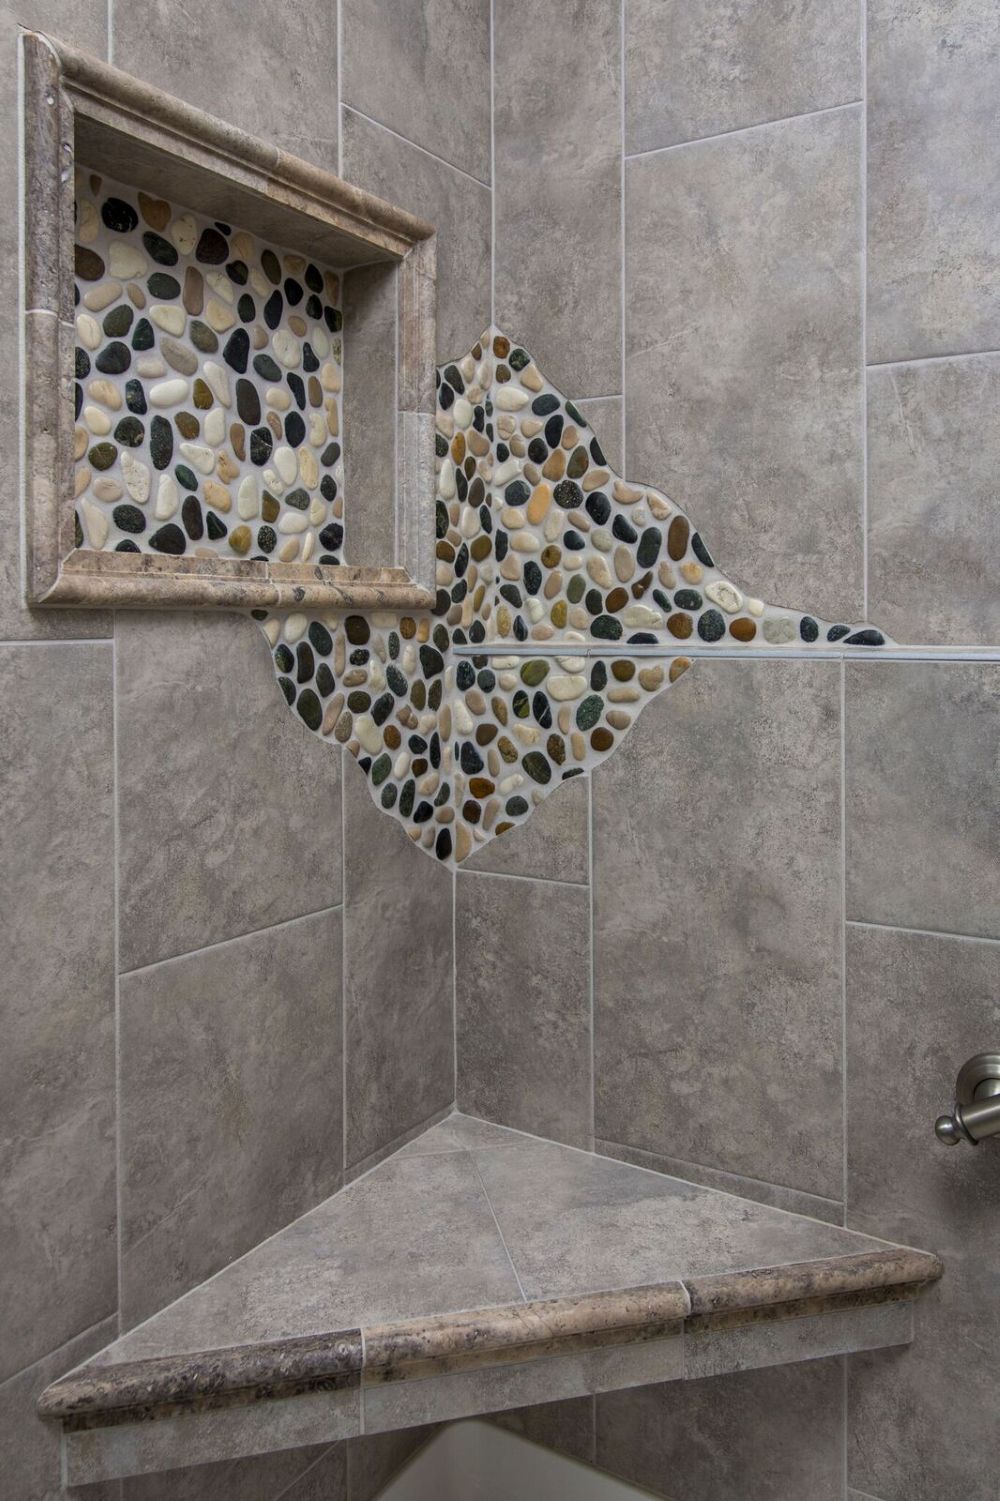
A stylish bathroom shower corner featuring a built-in niche with pebble stone tile detailing. The neutral wall tiles contrast with the organic shapes of the stones, creating a spa-like, natural aesthetic that enhances the shower design.
When to Skip It (and We Really Mean Skip It)
Here's where homeowners sometimes push back, and where we have to be the ones to pump the brakes. Not every wall is a candidate for a niche — and cutting into the wrong wall isn't a minor inconvenience. It can be a structural problem, a code violation, or an expensive mess.
Good Niche Candidates
- Interior partition walls — no structural load
- Walls you've confirmed are clear of plumbing and wiring
- Standard 16"-on-center stud spacing
- Shower walls already being tiled
- Walls in rooms where you're doing a full remodel anyway
Walls to Leave Alone
- Load-bearing walls (unless properly reframed)
- Walls hiding major plumbing stacks or HVAC runs
- Exterior walls (disrupts insulation, creates moisture risk)
- Fire-rated walls, like garage-to-house separation walls
- Walls between units in a condo
Trade term, explained
A load-bearing wall is one that carries structural weight from above — like a floor, a roof, or another wall. Cutting into one without proper header framing (a reinforced beam above the opening) can compromise the structure of your home. Load-bearing walls need an engineer or an experienced contractor before anyone touches them.
The garage wall deserves special mention, especially for the Rossmoor and East Bay homes we work in. That wall between your attached garage and your living space is almost always fire-rated — meaning it's specifically built to slow the spread of fire between the two spaces. Building codes prohibit penetrating it in ways that compromise that rating. A niche would do exactly that. We don't cut it.
The Waterproofing Question: Niche in a Shower
This is the part where most DIY shower niches go sideways.
A shower niche sits inside a wall that is constantly subjected to steam, moisture, and direct water spray. If that niche isn't properly waterproofed, water gets behind the tile. Water behind the tile means mold. Mold means a teardown that costs far more than the niche was ever worth.
Here's what proper waterproofing for a shower niche actually looks like:
1
Cement board as the substrate
The interior of the niche — the back and the sides — needs to be lined with cement board, not standard drywall. Drywall is paper and gypsum. It disintegrates when it gets wet. Cement board doesn't.
2
Waterproof membrane over everything
Over the cement board goes a waterproofing membrane — a flexible, paintable material that creates a continuous waterproof layer behind your tile. Every seam and corner inside the niche gets sealed. Every inch matters.
3
Slope the shelf floor
The bottom surface of the niche should slope slightly forward — toward you — so water drains out instead of pooling. A perfectly level niche bottom becomes a standing water problem. We slope it a minimum of 1/4 inch per foot.
4
Tile, then caulk (not grout) the transitions
Where the niche meets the rest of the shower tile, you use caulk — not grout. Grout is rigid and will crack when the wall moves (and walls always move slightly). Caulk stays flexible and keeps the seal intact.
We've redone a fair number of shower niches that were originally built without proper waterproofing. It's not a fun conversation to have with a homeowner — "we need to tear this out and start over" — and it's entirely preventable.
"The niche itself isn't the hard part. The waterproofing is the hard part. Get that right and you'll have a shower that's still beautiful in twenty years."
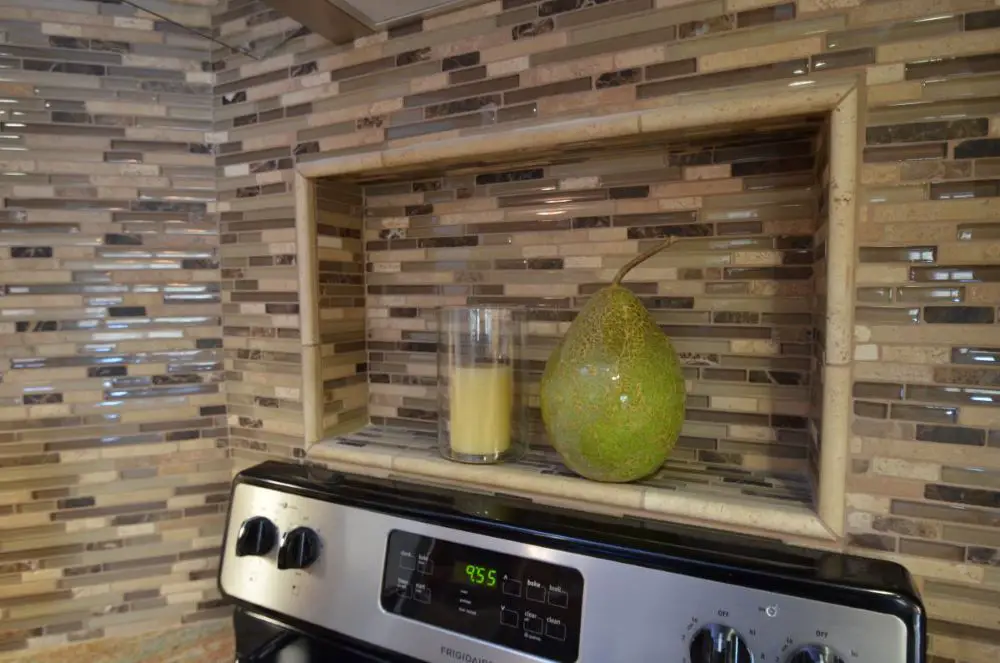
A kitchen backsplash featuring a built-in niche above the stove, decorated with a candle and a green decorative pear. The mosaic tile design adds depth and visual interest while providing a functional display space.
How Big Should a Niche Be?
This depends on what you're storing — which sounds obvious, but homeowners frequently build the niche first and figure out what fits second. Build the niche around what you need to put in it.
Standard sizing that works well in most showers:
- Width: 12 to 16 inches — fits within a single stud bay on standard 16" spacing
- Height: 12 to 24 inches — taller if you want a divider shelf inside
- Depth: 3.5 inches in a standard 2×4 wall — enough for most bottles, not deep enough for large shampoo containers
If you want more depth — say, for oversized bottles — you're looking at a 2×6 wall, which gives you 5.5 inches. That's often worth planning for in a new shower build. Harder to retrofit into an existing wall.
One niche or two? We often put one at shoulder height for everyday items and another lower (sometimes accessed from outside the shower) for extra storage. It depends on the wall space available and what the client actually needs.
Before You Cut: A Planning Checklist
Run through this before anyone picks up a saw
- Confirmed stud spacing with a stud finder (standard is 16 inches on center)
- Checked for pipes and wires — both with a stud finder and by knowing where your plumbing runs
- Verified the wall is not load-bearing (ask your contractor if you're not sure)
- Measured actual items you plan to store — sized the niche around real objects
- Planned waterproofing for wet areas (cement board + membrane + caulk at transitions)
- Confirmed depth is achievable — 3.5" for 2×4 walls, 5.5" for 2×6 walls
- Selected finish material — tile to match the shower? Painted drywall? Wood trim?
- Checked local permit requirements if the niche involves structural work
Niche vs. Floating Shelf vs. Cabinet: How They Actually Compare
Not every storage problem needs a niche. Here's an honest comparison of the three most common options:
| Feature | Wall Niche | Floating Shelf | Cabinet |
|---|---|---|---|
| Takes up room space | None — built in | Projects slightly | Uses floor or wall |
| Looks intentional | Very high | Moderate | Depends on style |
| DIY difficulty | Moderate — needs planning | Straightforward | Moderate + anchoring |
| Works in wet areas | Yes, when waterproofed | Limited | Not in showers |
| Relative cost | $$ — labor-intensive | $ — lowest cost | $$–$$$ — highest cost |
| Permanence | Permanent | Removable | Removable |
The short version: niches win on aesthetics and space efficiency. Floating shelves win on cost and flexibility. Cabinets win on storage capacity. Know which problem you're actually solving before you commit.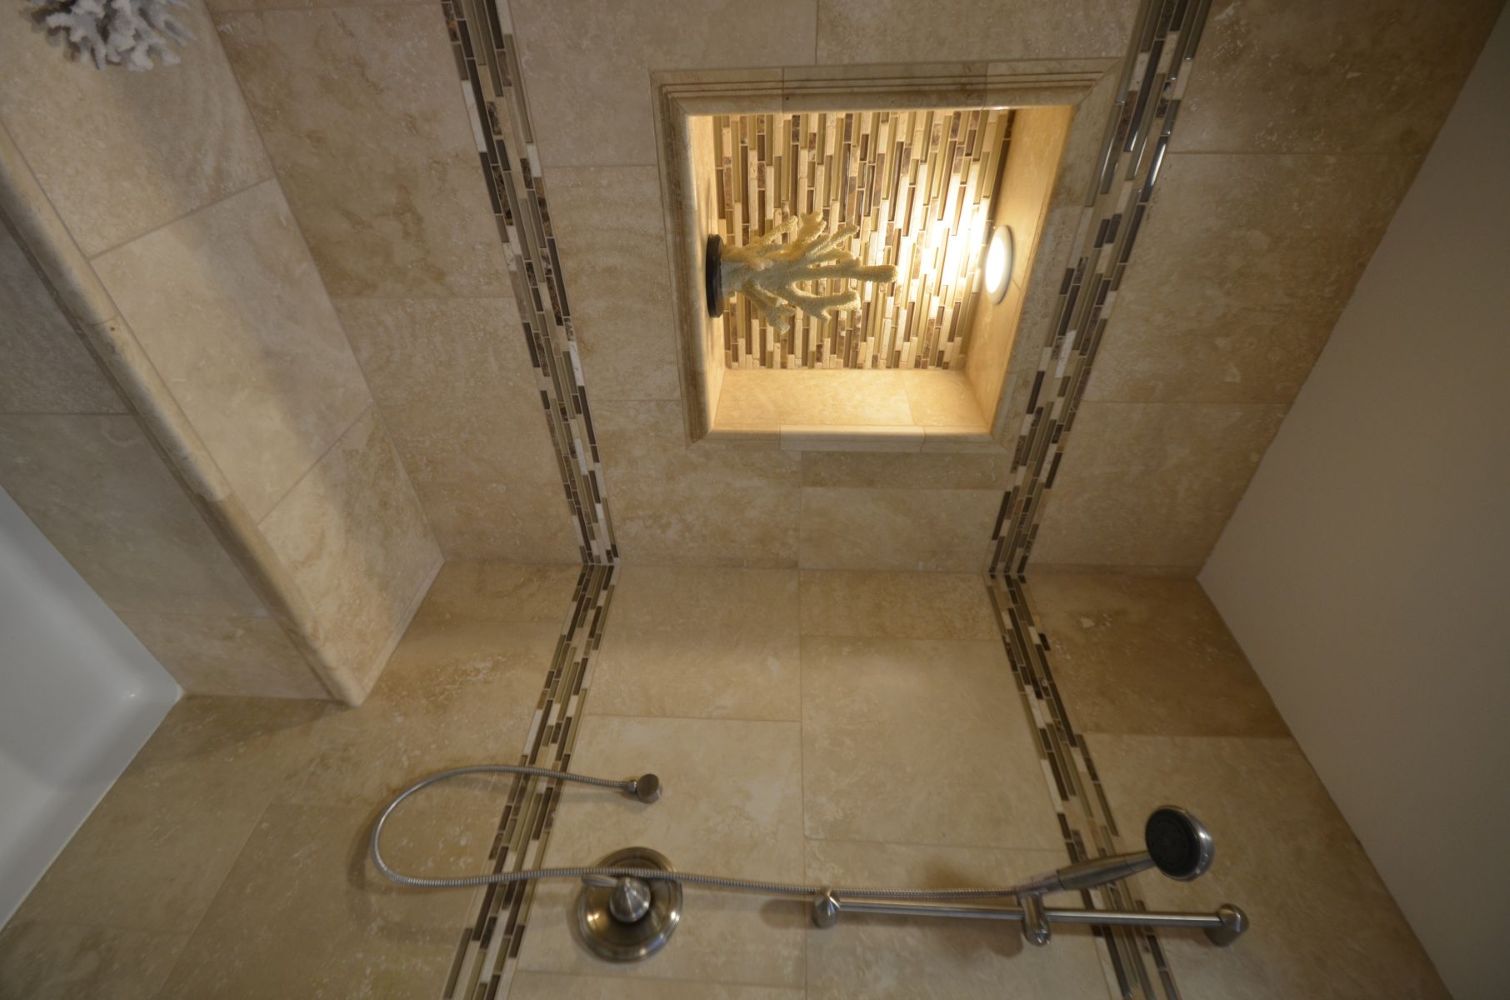
This image showcases a walk-in shower with a built-in bench and a recessed niche illuminated by soft lighting. The neutral-toned tiles and horizontal accent strip create a cohesive and modern bathroom design focused on comfort and functionality.
Common Questions We Get About Niches
Can I add a niche to an existing wall without opening up the whole thing?
Sometimes. You need to cut an opening, frame it, and finish it — which means drywall patching at minimum. In a tile shower, you're committing to retiling at least part of the wall, usually more than you'd expect. If the wall is already being redone, it's a simple addition. If you're retrofitting into a finished wall, budget for the full repair around it.
What if there's a stud exactly where I want the niche?
This comes up constantly. You have a few options: shift the niche location to sit between two studs, widen the niche by removing a stud and adding a header and trimmer studs on either side (more structural work, but doable on non-load-bearing walls), or reconsider the location entirely. Don't cut through a stud without replacing the structural support — that's how walls start to sag.
How much does a shower niche typically cost in a remodel?
In the context of a full bathroom remodel, a properly built shower niche typically adds somewhere in the $300–$800 range depending on size, tile choice, and how much additional framing is needed. If you're having us build the shower from scratch anyway, it's toward the lower end of that range. A standalone retrofit into an existing tiled shower costs more — you're paying for demolition and patch work on top of the niche itself.
Can I add a light inside the niche?
Yes — and it looks genuinely beautiful. Recessed LED strip lighting or a small waterproof puck light inside a shower niche creates a warm, spa-like effect that photographs well and lives even better. It does require an electrician and planning during the build phase, not as an afterthought. This is the kind of detail that makes a bathroom feel custom-designed rather than just renovated.
Is this a DIY project?
For a non-structural interior wall, not in a wet area, a confident DIYer can build a niche. For a shower niche — which is what most people want — we'd recommend professional installation. The waterproofing has to be done exactly right. One missed seam, one improperly sloped shelf, and you'll be pulling it all out in a few years. It's a case where the cost of getting it done properly once is a lot less than the cost of fixing it later.
Explore related projects and services
Our Honest Take
Niches are one of those details that separate a bathroom remodel that looks good from one that feels complete. They're not about trends — they're about solving a real functional problem in a way that looks like it was always meant to be there.
But they're not magic, and they're not for every wall. The homeowners who get the most out of a niche are the ones who plan it early, size it around what they actually store, and build it correctly the first time — especially the waterproofing.
If you're in the middle of planning a bathroom remodel and you've been wondering whether a niche makes sense for your space, bring it up early in the conversation. It's much easier to plan for than to add later. And if you already have a niche that you're worried about — one that's showing signs of moisture or tile cracking at the edges — call us. We've seen it before and we know how to fix it right.
Planning a bathroom remodel in Walnut Creek or Rossmoor?
We'd love to talk through your space — niches, layout, tile, the whole thing. No pressure, just an honest conversation from people who've been doing this for over 40 years.

Toupin Construction
Ready to start your remodel?
Whether you're dreaming of a new kitchen, a spa-worthy bathroom, or a whole-home transformation — we’d love to hear about your project. Reach out and let's talk.
‹ Back
Comments