


By using our website, you agree to the use of cookies as described in our Cookie Policy
Blog
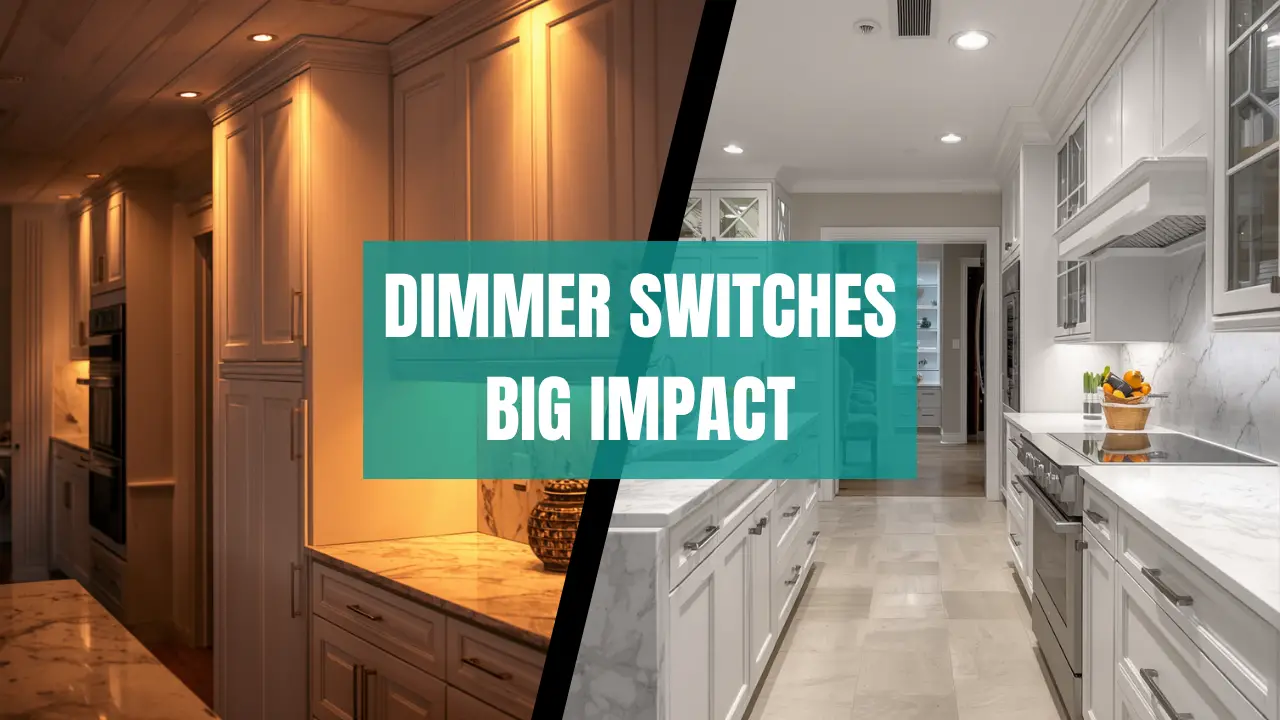
Dimmer Switches: The Smallest Upgrade With the Biggest Daily Impact
Remodeling Tips · Lighting
Dimmer Switches: The Smallest Upgrade With the Biggest Daily
Impact
By Candi Toupin · Toupin Construction · Walnut Creek, CA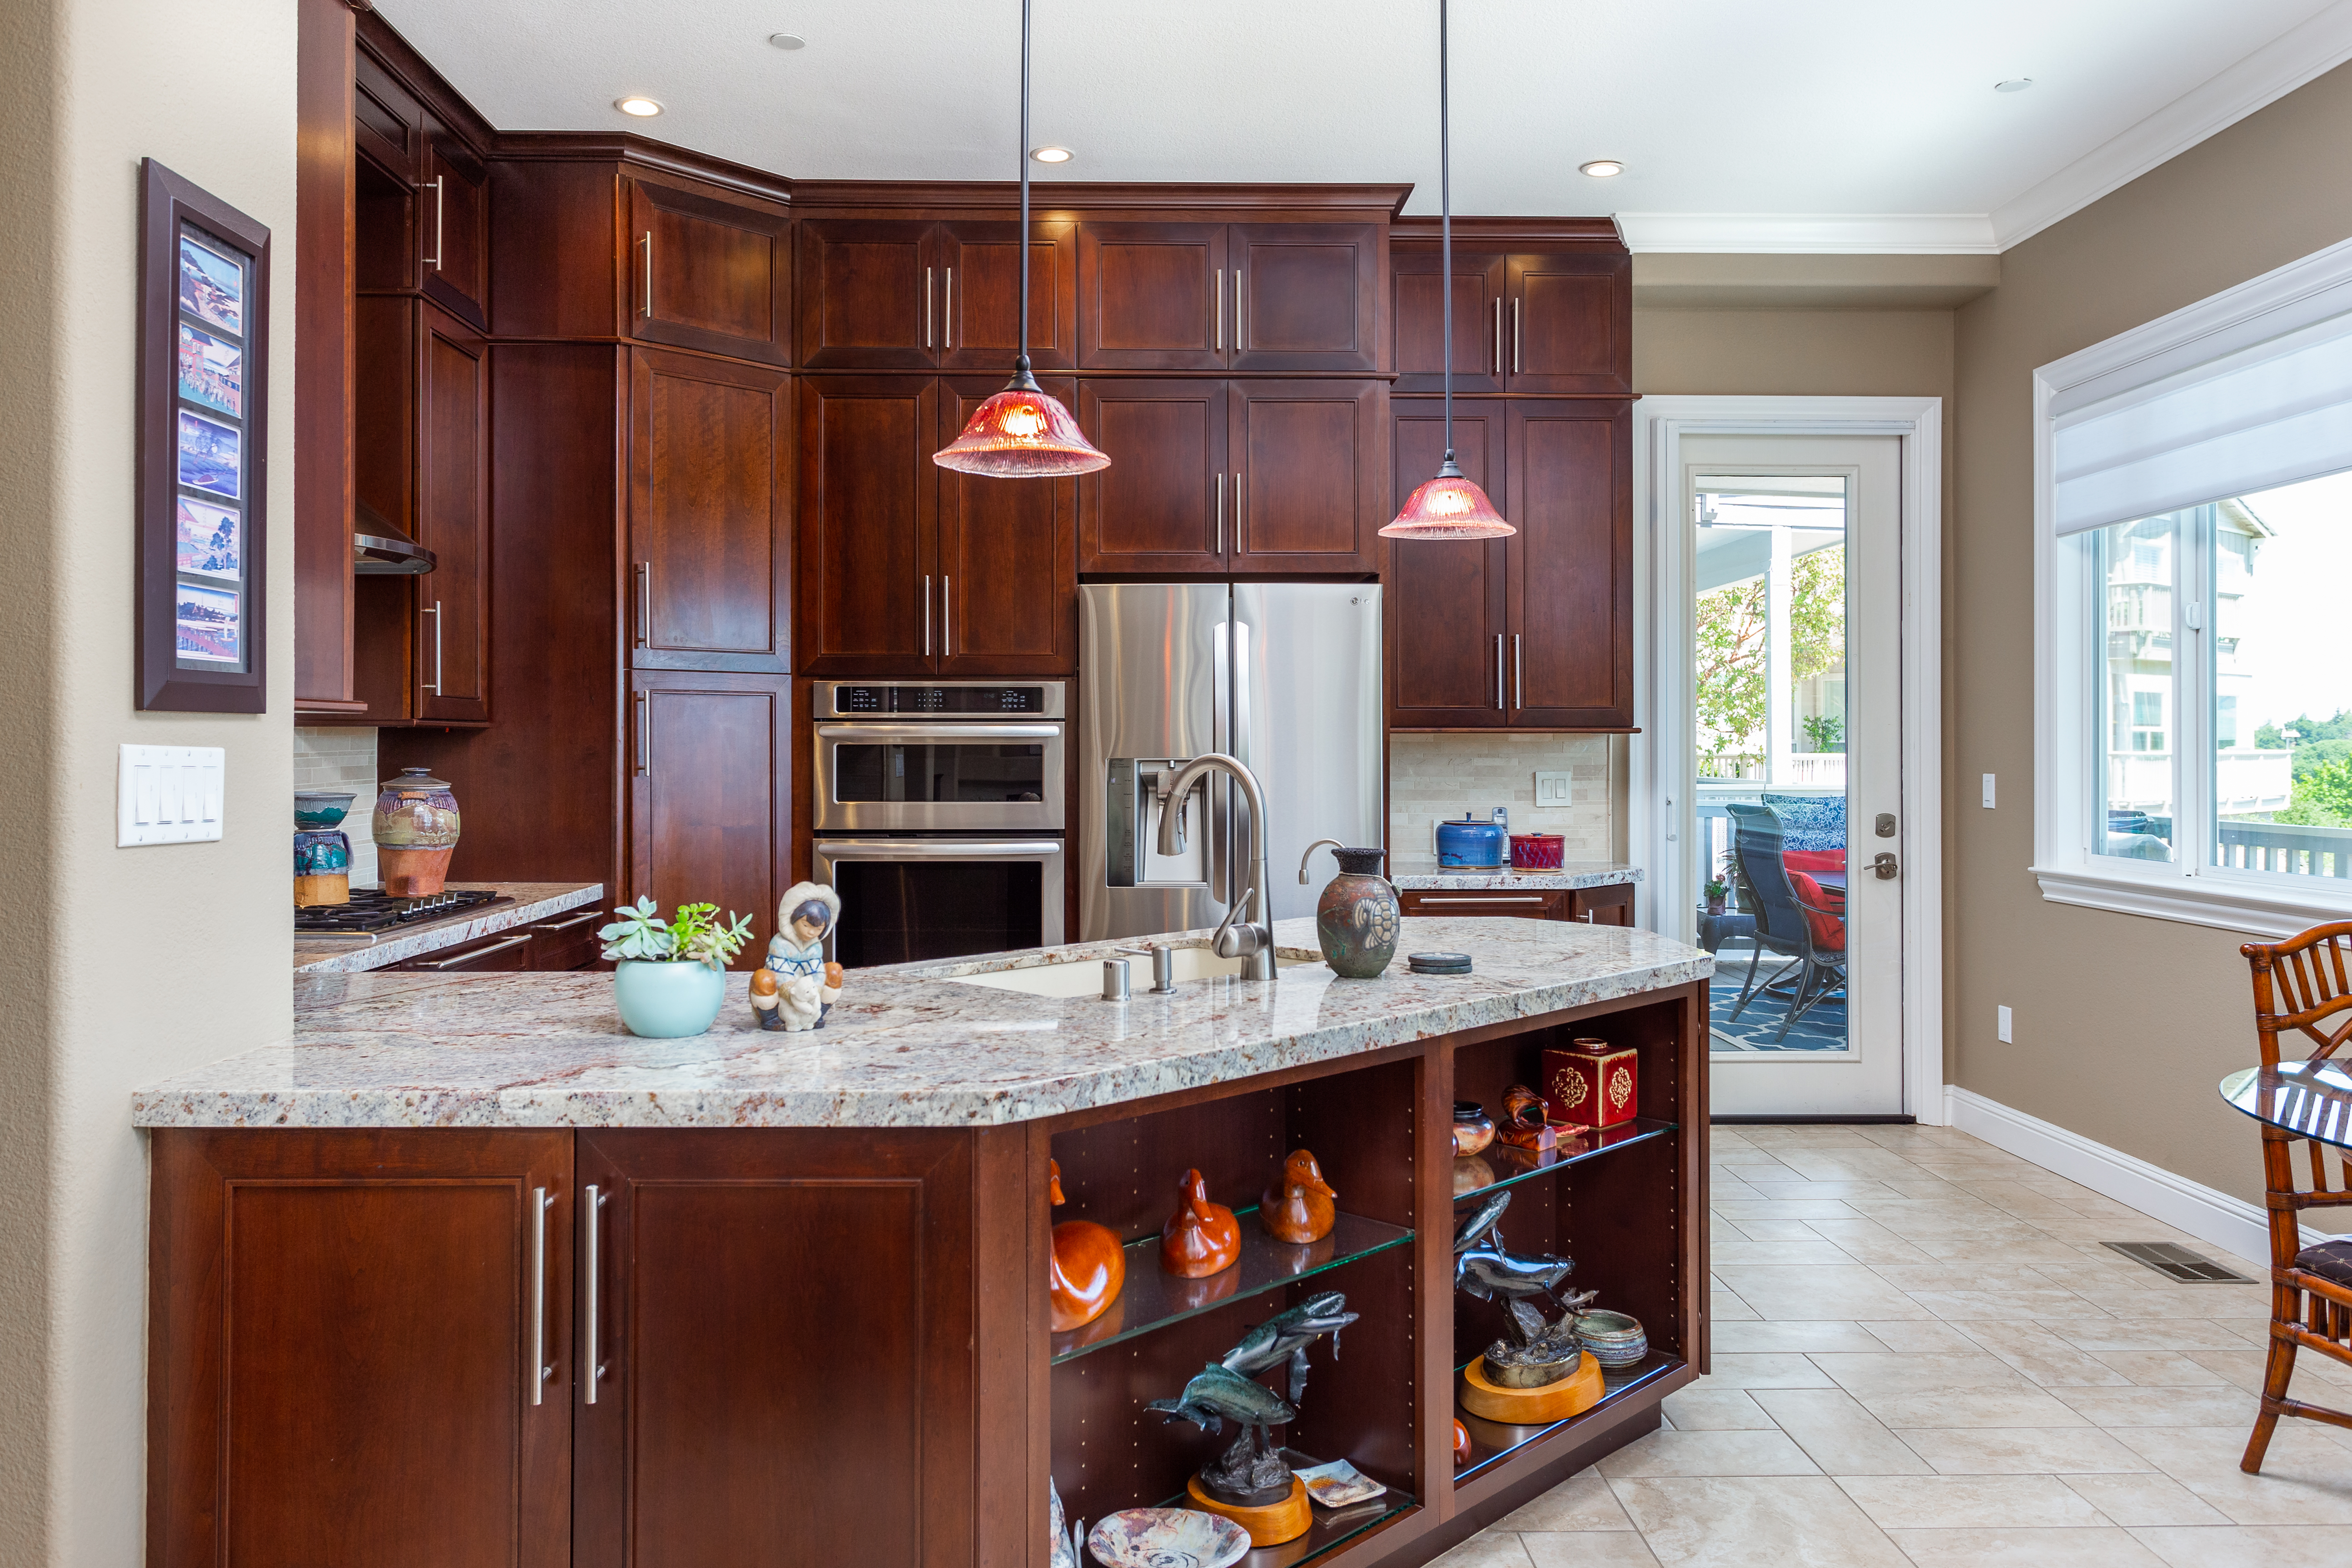
A kitchen featuring warm wood cabinetry and pendant lighting, demonstrating how dimmer-controlled lighting can create a softer, more inviting atmosphere while still providing task lighting at the island.
We finished a full kitchen remodel in Lafayette last year — new cabinets, quartz counters, the works. Client was thrilled. Called us two weeks after move-in and said, "I didn't expect this, but the dimmers are my favorite part." Not the countertops. Not the subway tile backsplash she'd spent three weeks choosing. The dimmers.
I wasn't surprised. We hear some version of this on almost every job where we upgrade the lighting controls. It's the thing homeowners don't think to ask for and can't stop talking about after. Because lighting is the one design element that changes every single hour of the day — and most homes are stuck at one setting: on.
This post is about why dimmer switches are consistently the highest-impact-per-dollar upgrade we install, where they matter most, what you need to know before you buy, and what California code actually requires. We'll skip the "bright for cooking, soft for dinner" lines you've read everywhere else and get into the stuff that's actually useful.
Why Light Level Is a Design Decision — Not Just a Preference
Most homes are lit for the worst-case scenario: enough brightness to see clearly in every corner at any time of day. The problem is that "worst-case scenario" lighting is also harsh, flat, and fatiguing to live in. It washes out finishes, flattens the texture of tile and wood, and makes a beautifully remodeled room look like a showroom floor rather than a home.
Light level changes how every other finish in a room reads. A warm white quartz countertop at full brightness looks almost clinical. At 60%, with warm-toned LEDs, it looks like a completely different material. Tile texture disappears under harsh overhead light and comes alive under dimmed pendants. Paint colors shift. Cabinet tones deepen. The same room feels like two different rooms — and the dimmer is what moves between them.
Trade Term: Color Temperature
Color temperature is measured in Kelvins (K) and describes whether a light source reads as warm or cool. 2700K–3000K is warm white — similar to incandescent bulbs, flattering to skin tones and wood finishes. 3500K–4000K is neutral white — closer to daylight, better for task areas. 5000K+ is cool/daylight — good for garages and utility spaces, harsh in living areas. Dimmers work with color temperature: dimming a warm LED makes it even warmer. This is why dimmed warm-white pendants over a kitchen island feel completely different from the same pendants at full brightness.
Where Dimmers Make the Biggest Difference
"The finishes people agonize over — the countertops, the tile — look completely different at different light levels. A dimmer doesn't just change the mood of a room. It changes how every other finish in the room reads."
Standard Dimmers vs. Smart Dimmers: Which One Is Right for You
Our honest take: standard dimmers handle 90% of what most homeowners actually want, and they handle it without needing a Wi-Fi password or a firmware update. If you're doing a remodel and want smart home integration as part of the project, smart dimmers are worth discussing. If you just want your kitchen to stop feeling like an operating room at 8pm, a $25 Lutron standard dimmer does the job beautifully.
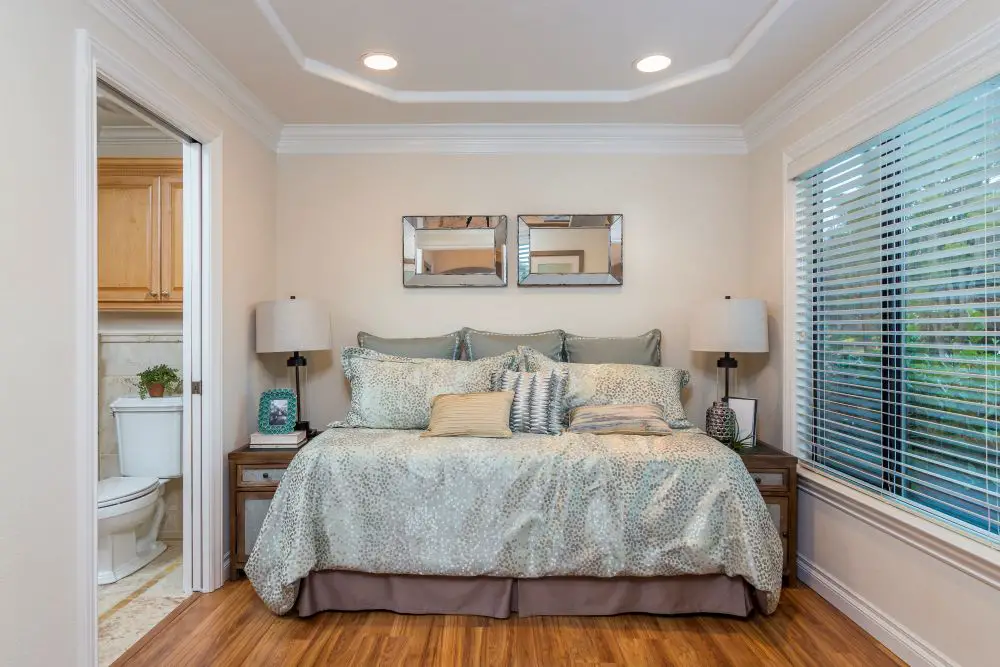
A bedroom with layered lighting, including recessed ceiling lights and bedside lamps, showing how dimmers allow for adjustable brightness to create a calm and relaxing environment.
What You Need to Know Before You Buy
This is where most DIY dimmer installs go sideways. Not all dimmers work with all bulbs, and the wrong combination causes buzzing, flickering, or — in the best case — just doesn't dim properly. Here's what to check before you buy anything.
- LED compatibility:Most modern dimmers are LED-compatible, but check the spec sheet. Older dimmers designed for incandescent bulbs often cause LEDs to flicker or buzz at low settings, or won't dim below 30%.
- Bulb dimmability:The bulb needs to be labeled "dimmable." Not all LED bulbs are — especially cheaper ones. If the bulb isn't rated for dimming, the dimmer can't fix that.
- Minimum load:Dimmers have a minimum wattage requirement. In a circuit with only one or two LED bulbs (which draw very little power), some dimmers won't engage properly. Match the dimmer to the load.
- Neutral wire requirement:Smart dimmers typically need a neutral wire in the switch box. Older East Bay homes — and many Rossmoor units from the '60s and '70s — often have switches wired without a neutral. A licensed electrician can assess this before you buy smart switches.
- Brand matching:When possible, use the same brand for the dimmer and the bulb. Lutron and Philips, for example, have published compatibility lists. Mixing unknown brands is where flickering problems come from.
Older East Bay Homes: Check Before You Assume
Homes built in the 1960s and '70s — which describes most of Rossmoor and a lot of central Walnut Creek — were often wired with two-wire switches (hot and ground, no neutral). Modern smart dimmers almost universally require a neutral wire. Before you buy a houseful of smart switches based on something you saw on Instagram, have a licensed electrician look at your switch boxes. It's a five-minute assessment that prevents a frustrating and expensive return situation.
California Title 24: What It Means for Your Lighting Upgrade
California's Title 24 energy codes govern lighting in residential construction and remodels — and they're more specific than most homeowners expect. When a lighting upgrade is part of a permitted remodel, it has to comply. Here's what that typically means in practical terms.
Title 24 requires that kitchen lighting, bathroom lighting, and most general interior lighting use high-efficacy sources — which in practice means LEDs. It also requires lighting controls in certain applications: kitchens need at least one switch that can reduce power consumption by 50% (a dimmer qualifies), and bathrooms with a tub or shower need a vacancy sensor or similar control on overhead lighting.
Trade Term: Vacancy Sensor vs. Occupancy Sensor
An occupancy sensor turns lights on automatically when it detects motion and off after a period of inactivity. A vacancy sensor requires you to manually turn lights on but turns them off automatically when it detects no motion. California Title 24 prefers vacancy sensors for certain bathroom applications because they put the homeowner in control of when lights come on — reducing the energy wasted by lights turning on when nobody intended them to. Both can be paired with dimming functionality.
We handle Title 24 compliance as a standard part of every electrical work we do — you don't need to become an expert in the code to add dimmers to your remodel. But it's worth knowing that "just slap a dimmer on it" isn't always the right answer in a permitted project, and a licensed contractor will make sure your lighting upgrade passes inspection rather than creating a problem at closing.
Where to Start If You're Adding Dimmers for the First Time
- 1
Kitchen pendants and recessed fixtures first. This is where you'll feel the difference most immediately and most often. If your kitchen has island pendants and recessed ceiling fixtures on the same circuit, separating them onto two circuits with individual dimmers is the move — and worth doing as part of a kitchen remodel.
- 2
Primary bathroom vanity lighting second. The before-coffee vs. before-bed lighting problem is universal and the fix is cheap. A single dimmer on the vanity fixtures changes how the whole bathroom feels at different times of day.
- 3
Living room overhead last — or first, if you're doing a full remodel. If the living room already has recessed lighting, adding a dimmer is a simple swap. If it doesn't have recessed lighting and you're planning a remodel, design for multiple zones from the start rather than retrofitting later.
You don't have to do the whole house at once. One dimmer in the right spot — the kitchen or the primary bath — will immediately show you what the rest of the house is missing.
Candi's Take
Lighting is the thing I get most excited about in a remodel walkthrough, and dimmers are the reason. I'll walk into a completed kitchen with a client and flip the recessed lights from 100% to 40% and watch their face change. Every time. Because the same room — the exact same tile, the exact same countertop, the exact same cabinets — just became a completely different experience.
It costs almost nothing relative to the rest of a remodel. It takes maybe an hour per switch to install properly. And homeowners tell me about it for years afterward. If you're doing any kind of remodel and dimmers aren't in the plan yet, put them in the plan. You will not regret it.
— Candi Toupin, Toupin Construction
Dimmer Questions We Hear on Every Job
Can I install a dimmer switch myself, or do I need an electrician?
Technically, a simple dimmer swap on an existing switch is within DIY range for someone comfortable with basic electrical work — the wiring is usually straightforward. But a few things make us recommend a licensed electrician even for this: older East Bay homes often have wiring surprises (aluminum wiring, missing grounds, or no neutral wire), and any permitted remodel requires licensed electrical work. If you're replacing one dimmer on a modern circuit in a newer home, DIY is reasonable with proper safety precautions. If you're in a Rossmoor unit or a home built before 1985, have someone look at it first.
Why does my dimmer switch buzz or flicker at low settings?
Almost always a compatibility issue between the dimmer and the bulb. The most common culprits: an older dimmer designed for incandescent bulbs being used with LEDs, a non-dimmable LED bulb on a dimmer circuit, or a dimmer that's hitting its minimum load threshold with too few or too low-wattage bulbs. The fix is usually replacing either the dimmer or the bulb with a matched, compatible product. Lutron publishes a compatibility finder online — it's worth checking before you buy anything.
Do dimmers actually save energy?
Yes — with a nuance. With incandescent bulbs, dimming at 50% saves roughly 40% of the energy. With LEDs, the savings curve is different because LEDs are already very efficient, but dimming still reduces consumption meaningfully. The bigger energy savings from dimmers often come indirectly: because the light is more comfortable to live in at lower levels, people actually use lower settings throughout the day rather than running everything at 100% and then reaching for a lamp. LEDs also last significantly longer when not run at full brightness constantly, which reduces replacement cost over time.
Does adding dimmers require a permit in Walnut Creek?
A simple like-for-like switch replacement (existing switch box, no new wiring) typically doesn't require a permit in Walnut Creek. If you're running new circuits, adding outlets, or doing electrical work as part of a larger remodel, that work needs to be permitted and inspected. Title 24 compliance also becomes a factor in a permitted project. When electrical work is part of a remodel we're doing, we pull the appropriate permits and make sure everything is inspected and compliant — so it's not a problem when you go to sell.
What's the best dimmer brand for East Bay homes?
For standard dimmers, Lutron is our consistent recommendation — specifically the Lutron Diva or Caséta lines depending on whether you want standard or smart. They have the broadest LED compatibility, the most reliable performance at low settings, and they're what we've installed in hundreds of East Bay homes without callbacks. For smart dimmers, Lutron Caséta integrates well with most smart home platforms and uses a hub-based system that doesn't rely on your Wi-Fi router for basic functionality — which matters when your internet is down and you just want to turn off the kitchen lights.
Adding dimmers to your remodel? It's worth a conversation.
We spec lighting controls on every kitchen and bathroom we remodel — it's one of the things that makes the finished space feel complete. Happy to talk through what would work in your home.
Get a Free Consultation See Our WorkCall us: 925-937-4200 · CA Lic #626819
Toupin Construction
Ready to start your remodel?
Whether you're dreaming of a new kitchen, a spa-worthy bathroom, or a whole-home transformation — we’d love to hear about your project. Reach out and let's talk.
‹ Back
Comments