


By using our website, you agree to the use of cookies as described in our Cookie Policy
Blog
7 Tile Mistakes We See On Almost Every DIY Job
Deep Dive · Tile Installation
7 Tile Mistakes We See On Almost Every DIY Job
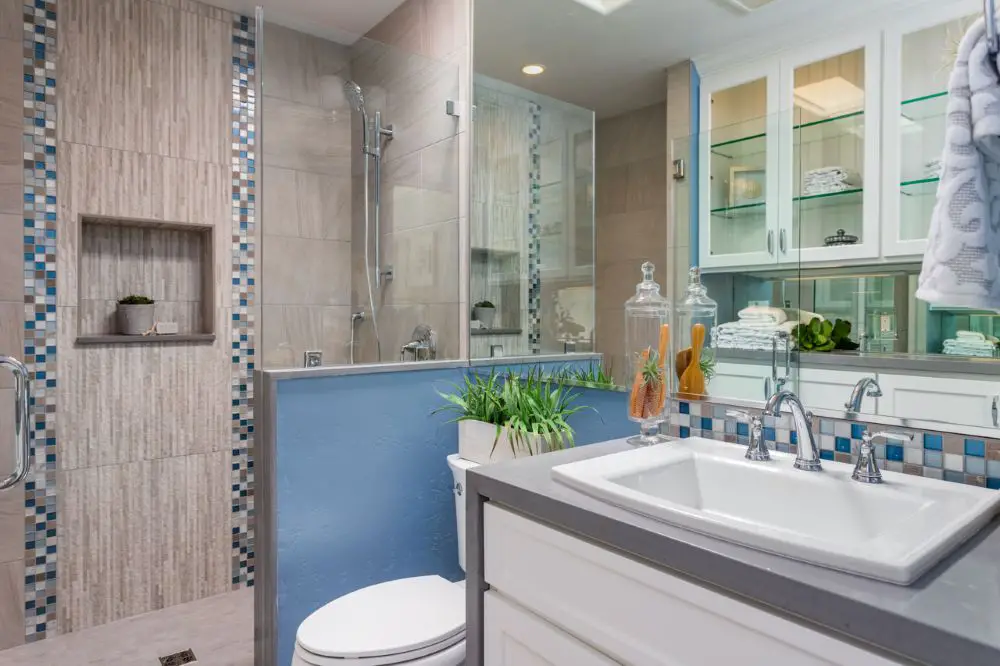
Bathroom remodel with multiple tile accents including vertical mosaic border, niche detail, and contrasting blue vanity wall
I walked across freshly grouted tile once. Brand new shower floor, client was coming to see it the next morning — and I left a trail of hazy footprints across the whole thing. My dad didn't yell. He just looked at me and said, "You'll remember that one." He was right. I remember every mistake I've ever made on a jobsite, because that's how this trade actually teaches you.
After 40 years of tile work across Walnut Creek, Rossmoor, Lafayette, and the rest of the East Bay, we've seen everything — the gorgeous installs, the fixable ones, and the ones where we have to gently ask the homeowner how much they paid the last guy. Most of the problems we're called in to fix come from the same handful of mistakes. Here's what they are, and how to avoid every single one.
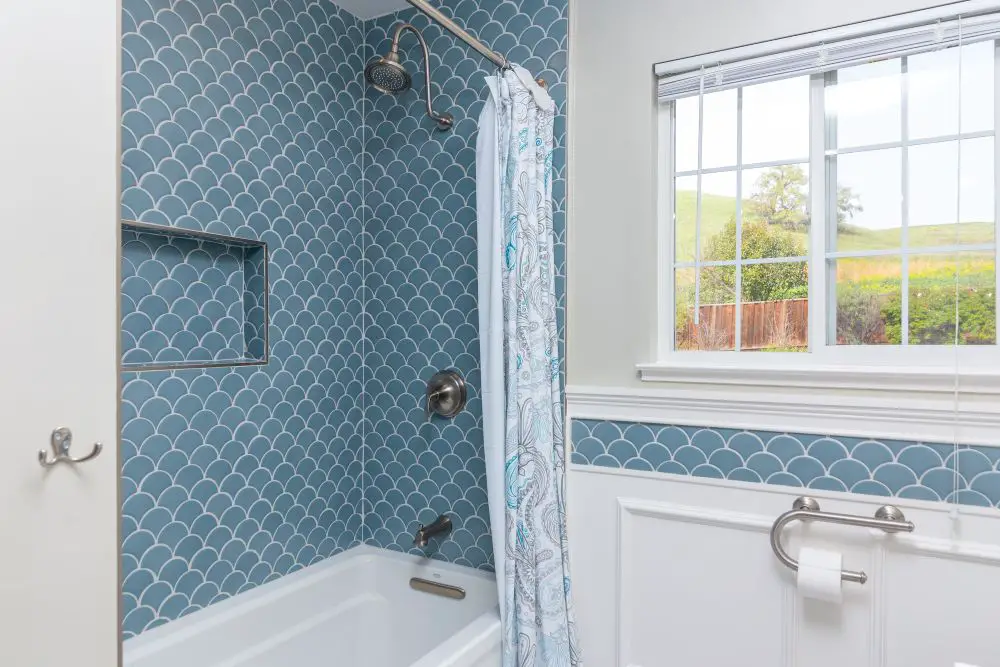
Bathtub shower combo with bold blue fish scale tile extending across walls,
"The mortar is the foundation of the tile job. Get it wrong and nothing else matters — not the pattern, not the grout color, not the finish. It all fails from underneath."
Candi's Take
The footprint story is real. I was eighteen, trying to save time, and those hazy prints across a fresh shower floor are burned into my memory. My dad made me clean it up — correctly, with the right compound, however long it took — and then he said something I've repeated on jobsites ever since: "The tile doesn't care how tired you are."
Every mistake on this list has a version of the same root cause: someone was trying to move faster than the work allows. Tile has a pace. Respect it, and it'll look beautiful for thirty years. Rush it, and you'll be back to fix it in three.
— Candi Toupin, Toupin Construction
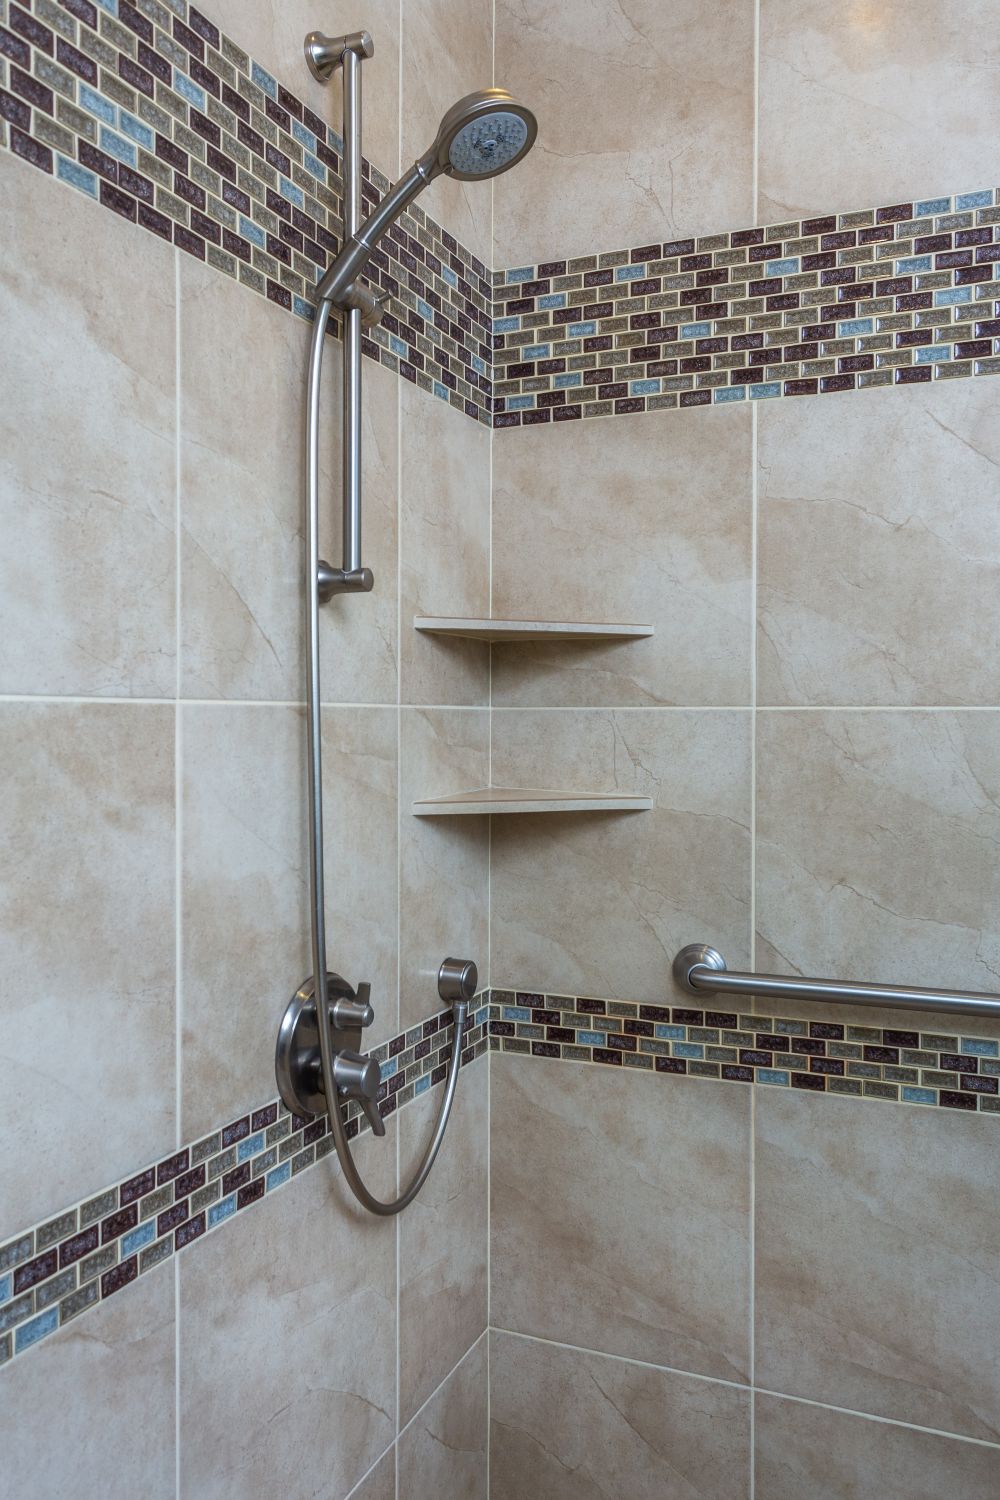 Shower with horizontal mosaic accent band
Quick Recap: The 7 Mistakes
- Skipping surface prep — the base is everything
- Not laying out the tile pattern before you start
- Using mastic in a wet area (please don't)
- Letting grout lines go crooked
- Rushing the grout work or skipping the seal
- No movement joints on large or outdoor floors
- Incorrect slope in showers, patios, or laundry rooms
Questions We Hear a Lot
How do I know if my subfloor is ready for tile?
Walk it. Bounce on it a little. Any flex or bounce means the substrate isn't solid enough for tile — you'll need to add cement backer board or self-leveling compound first. Tile needs a dead-still surface. If the floor moves, the tile will eventually crack.
Can I tile over existing tile?
Sometimes, yes — but only if the existing tile is completely solid, fully bonded, and the added height won't cause problems with doors, transitions, or drain heights. We always check first. Installing over loose or hollow tile is just stacking one problem on top of another.
What grout width should I use?
It depends on the tile. Rectified tile (machine-cut with very precise edges) can go as tight as 1/16". Handmade or natural stone tile needs more — usually 3/16" to 1/4" — because the edges aren't perfectly uniform. Your tile installer should match the joint width to the tile, not just default to one size.
How long does tile installation actually take?
A standard bathroom floor and shower surround is typically a 3–5 day project when done properly — and that's with cure time built in. If someone's quoting you a one-day tile job on a full bathroom, ask them how they're handling the cure window. The answer tells you a lot.
Is it worth hiring a professional, or can I DIY?
For backsplashes, laundry room floors, small bathroom updates — DIY is doable with some patience. For full shower surrounds, wet areas, or anything with complex patterns or large-format tile, we'd strongly encourage calling a pro. The margin for error is small, and water damage is expensive. We've seen $4,000 tile jobs turn into $15,000 water remediation projects. It happens more than you'd think.
Tile job gone sideways? Or trying to do it right the first time?
Either way, we're happy to take a look and give you an honest read on what you're working with. No pressure — just a real conversation about your space.
Get a Free Quote See Our WorkOr call us directly: 925-937-4200 · CA Lic #626819
Toupin Construction
Ready to start your remodel?
Whether you're dreaming of a new kitchen, a spa-worthy bathroom, or a whole-home transformation — we’d love to hear about your project. Reach out and let's talk.
‹ Back
Comments